Exporting data and importing it into a new tool is a pain. Each system has different requirements, and when you look at what you export it often doesn’t look anything like what you’ve been asked to provide. Every import has its quirks, but we want to share some common tips that help as you move your data from one system to the next.
CSV? what is that?
The most common export/import type is CSV. CSV stands for comma separated value. In a CSV file, data values in each row are separated by commas into columns like
value_1, value_2, value_3, value_4, value_5
Of course CSVs don’t just include comma separated files! CSVs can also use pipes ( | ) and semicolons ( ; ). Sometimes tabs are used, which is not recommended as using an invisible character to separate data can cause many issues. While other characters are technically allowed this doesn’t mean that it’s good practice to use them. If possible, commas ( , ) are the best option. Also remember that, if you use commas within rows, you need to escape the character. In data loading escaping means telling the importer that it should not read the character as a new column but as part of the data itself. See the example below:
value_1, value_2, val,ue_3, “val,ue_4”, value_5
In the two bolded examples only value_4 will be correctly loaded. That’s because it has double quotes around it to indicate that the comma in the middle should be ignored and is part of the value and not a seperator. The comma in value_3 will produce an extra, unwanted column.
The other important thing about CSV files is the file extension. The file extension is the three letters after the period at the end of the file name. We all know common file extensions like .doc for a Microsoft Word document, .png for an image file or .xls for a Microsoft Excel file. A CSV has a .csv extension. This can be confusing since you can open a CSV in Excel and even save it from Excel, but you have to be careful! There are two possible problems with saving a CSV using Excel. The first is that you have to select the .csv extension or Excel will save the file as .xls. Excel can also do some funny things to the file encoding, making it impossible to read. To avoid this issue, make sure that the file encoding is UTF 8. To properly save a CSV using Excel:
- Select ‘Save As’ from the File Menu
- Select the .csv (UTF-8 encoding) extension.
If the file extension is .xls or the encoding is not correct, the file cannot be used. One more thing to keep in mind: if you do use excel to update the file, decimals need to be point separated ( . ) not comma separated ( , ).
how to format your data …
Now how do you format the data in the file? The first thing your file needs is a header row. The header row is the row at the top of the file that defines the data in each column. An example would be
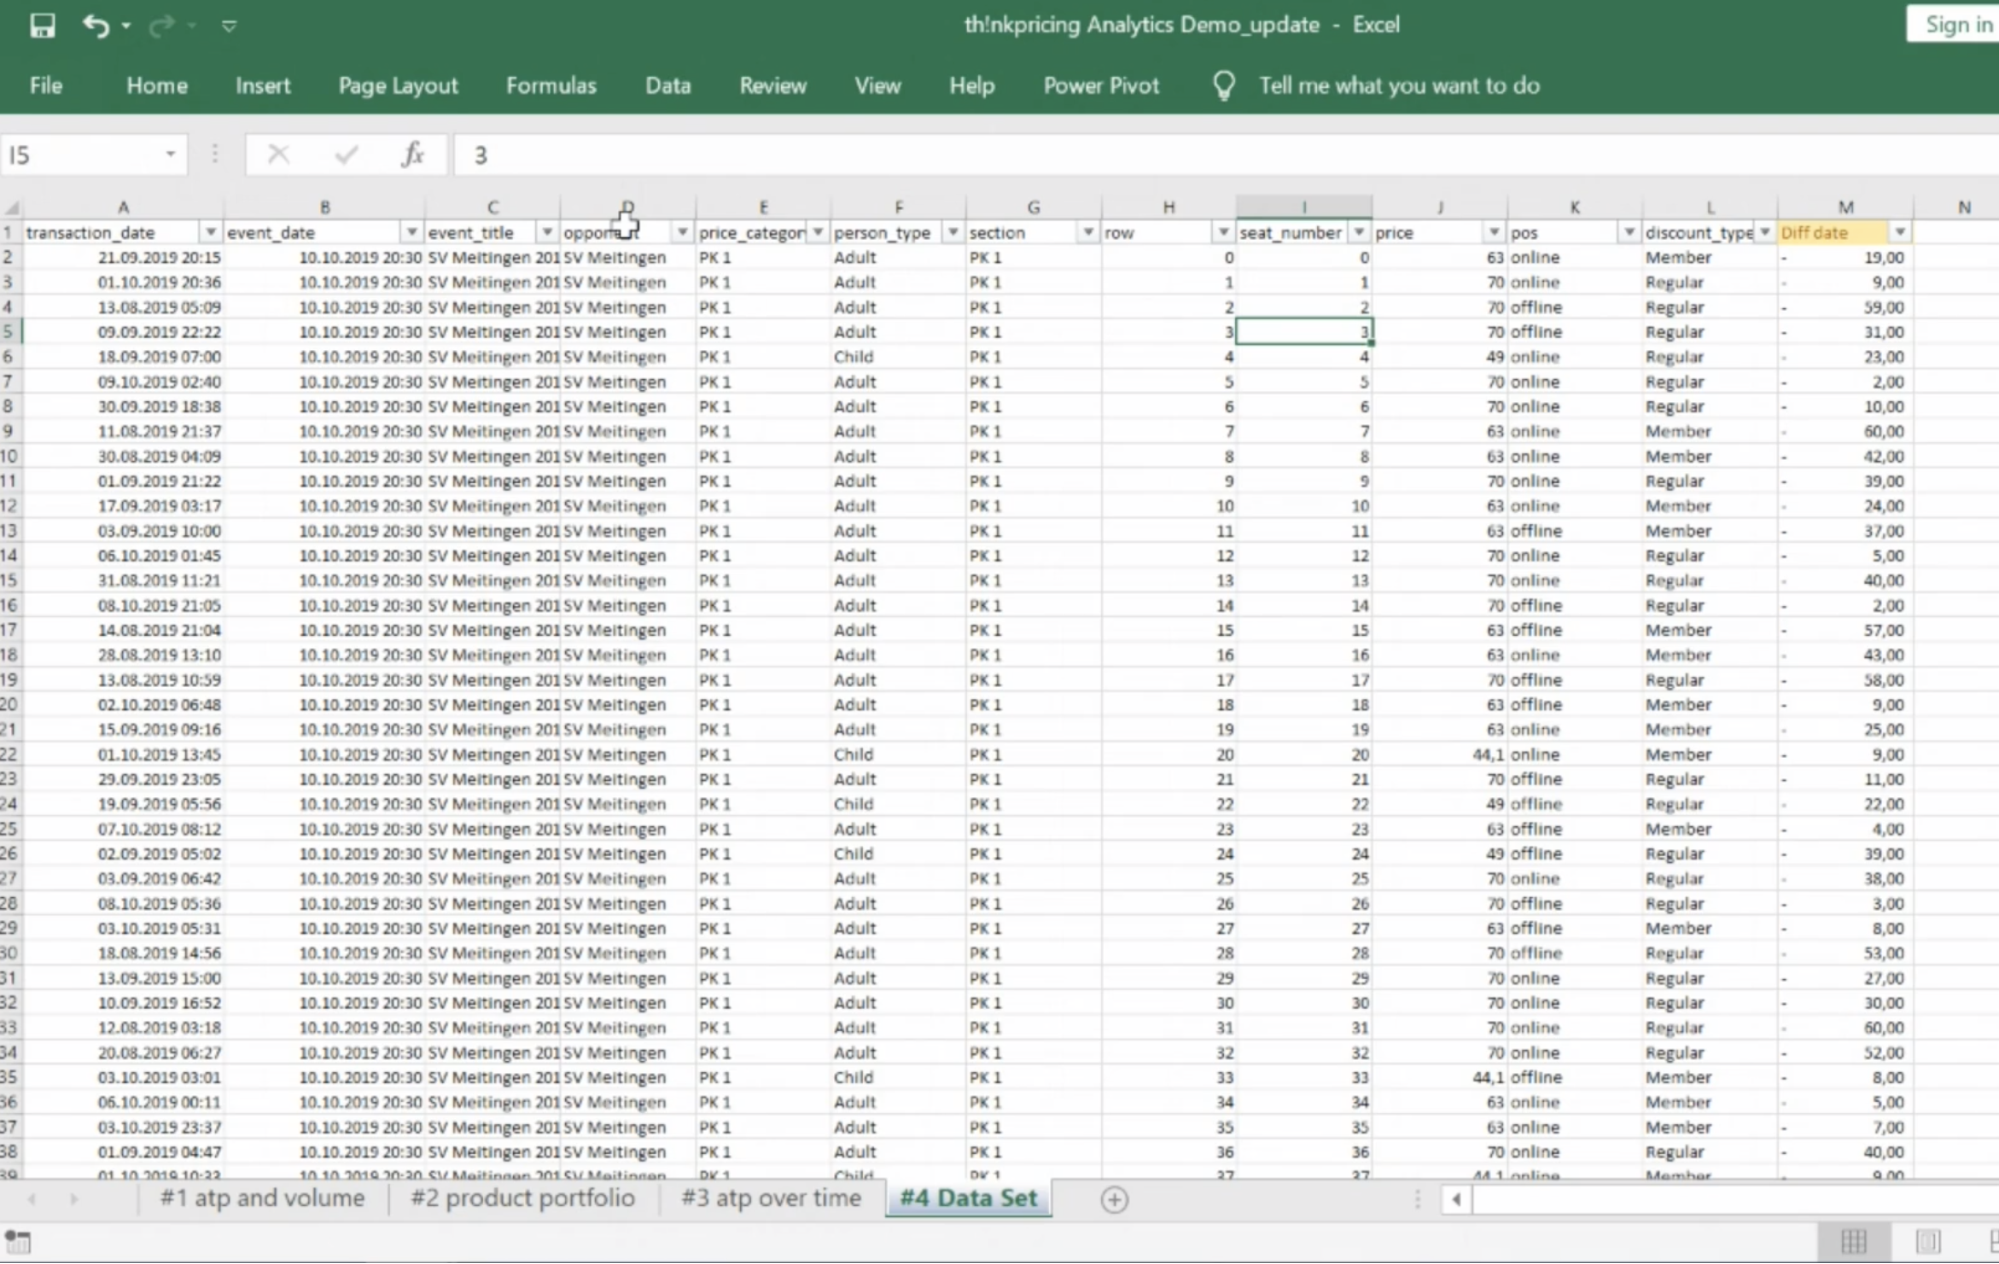
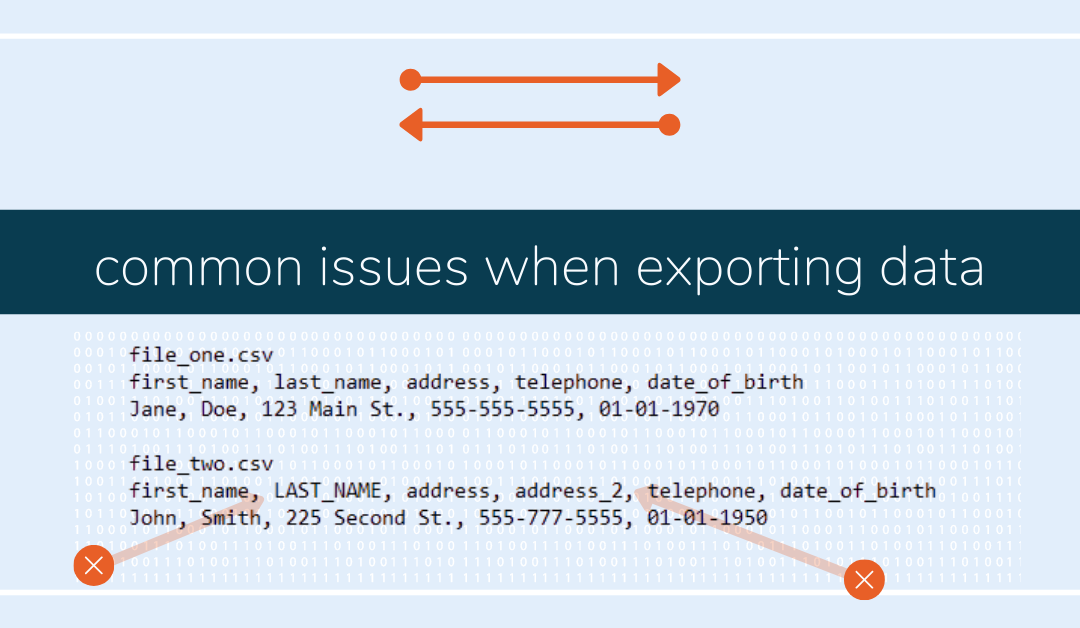
You can see that the first row describes what data is in the next row and all other following rows. If your data comes in multiple files, it is important that the files have the same number of columns and the exact same header row. This means each header row should have the same spelling, same casing of column names and the same order of columns. This ensures that data in all files will be associated correctly.
good example

Here both files have exactly the same headers….
bad example
Here the second file has an all caps second column name and an extra column (address_2) that has no data value associated.
Once the headers are ready, you can concentrate on the actual data. All of the data should be complete. Complete means that every row should have data in every column that makes sense for the data you are exporting. If you are exporting for our Evaluator, you need to export different types of transactions. In this case the data should make sense for the transaction type that the row represents. So, if the row indicates a reserved ticket not a sale, the purchase date should be empty. If the row indicates a ticket sale and not a reservation, the reservation date should be empty.
make sure you always have all the data you need
When exporting data and loading it into a new system, you need to make sure that you included all of the data needed to use the program. This means running basic checks to be sure you didn’t miss anything. For example, if you are loading data into our Evaluator we suggest you check:
- All data relevant to the time period is included
- This means include any data for the dates you want to review in the system you are loading to.
- For the Evaluator we suggest:
- If the data includes multiple months, matches or seasons ensure that data for each is downloaded
- All data points are included
- When exporting data, make sure that all data points you need to use the new system are included in the export; transactions, dates; actions, etc
- For the Evaluator we suggest:
- Make sure that the number of tickets/transactions found in the import data matches your own internal expectations for the period that the data covers
- Ensure that the total number of tickets/transactions per Product, Category, and Dimension match your own internal expectations for the period that the data covers
- All revenue is accounted for in the files
- This means that the amount of revenue or money you expect to see in the new tool is present in the files
- For the evaluator we suggest:
- Make sure that the sum of all transactions (tickets sold) matches the sales revenue you track in your P&L
- Ensure that the total revenue per Product, Category, and Dimension matches the sales revenue you track in your P&L
conclusion
Well, that’s it! We hope this helps you manage your exports better. We’ll provide more tips and tricks over the coming months so subscribe to our newsletter to keep up with our posts.